Before you get out there and start taking hundreds of photos of inanimate objects, we recommend taking our chosen photogrammetry software, Meshroom, for a spin with their sample dataset to ensure that your PC can cope with the demands of this resource-intensive process. You’ll also get a feel for how long the process takes and get exposed to the quality of photos you’ll need to use for your project. The dataset can be found here hsmag.cc/PL0TgK. If you’re unfamiliar with GitHub, all you need to do is click on the green 'Clone or download' button and then 'Download ZIP'. Unzip the file, open the full folder, then select and drag all of the photos into the left sidebar in Meshroom. Next, click on File then Save As to save your project. We recommend creating a new folder to save your project, as Meshroom will create some folders at this location each step of the way – this is where you'll find your finished 3D model file once everything is completed.
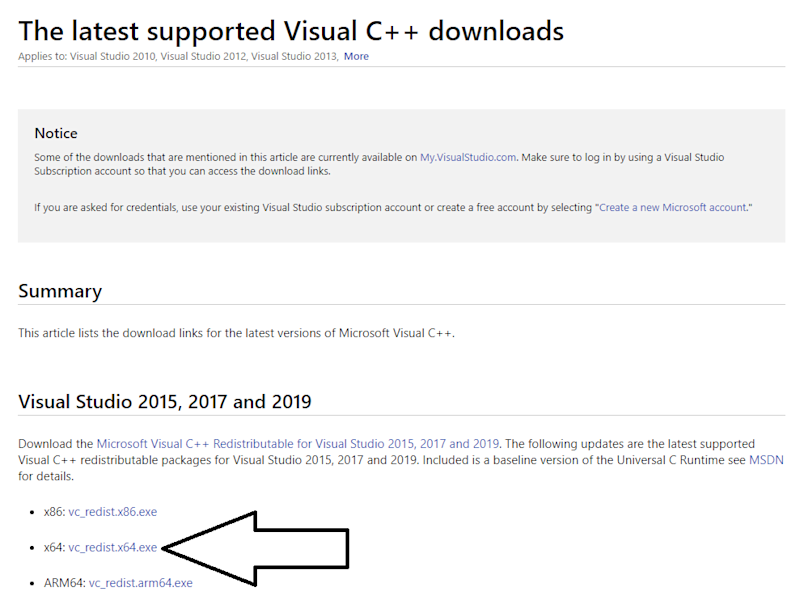
No Nvidia? No problem!
At this stage, we can just click Start and let everything run for a couple of hours, then come back to our 3D model of an anthropomorphised tree. However, we’re going to use a feature from the documentation that will give us a rough model in around 20–30 minutes, rather than several hours. This is our recommended workflow when working with your own photos, as it saves several hours of waiting to find out whether or not your photos were successful. To do this, we need to dig in a little to the beating heart of Meshroom: the graph editor. This is a visualisation of each of the steps that are taken during the photogrammetry process and is updated in real time to show which steps have completed, which are in progress and, if applicable, which steps have failed by displaying a green, orange, or red bar respectively. A detailed description of each of these steps isn’t necessary for this tutorial, but if you’re interested, you can find a great overview here: alicevision.org/#photogrammetry.
Right-click on the DepthMap node, and click on the fast-forward symbol beside Duplicate Node. This will copy the entire pipeline from this point onwards and give us a draft quality pipeline to work in. Depth mapping is the step in the 3D modelling process that an Nvidia GPU is required for and is easily the most resource- and time-intensive part, so we’re going to remove it from our draft workflow. Right-click on DepthMap2, then select remove node, and do the same with 'DepthMapFilter2'. Next, click and drag from the input circle (not output) on the PrepareDenseScene node to the input circle on the Meshing2 node, and finally connect the output circle of PrepareDenseScene to the imagesFolder circle in the Texturing2 node. Your pipeline should be the same as shown in Figure 2. Now we’re ready to get started, right-click on the Texturing2 node and click on Compute to get the ball rolling.

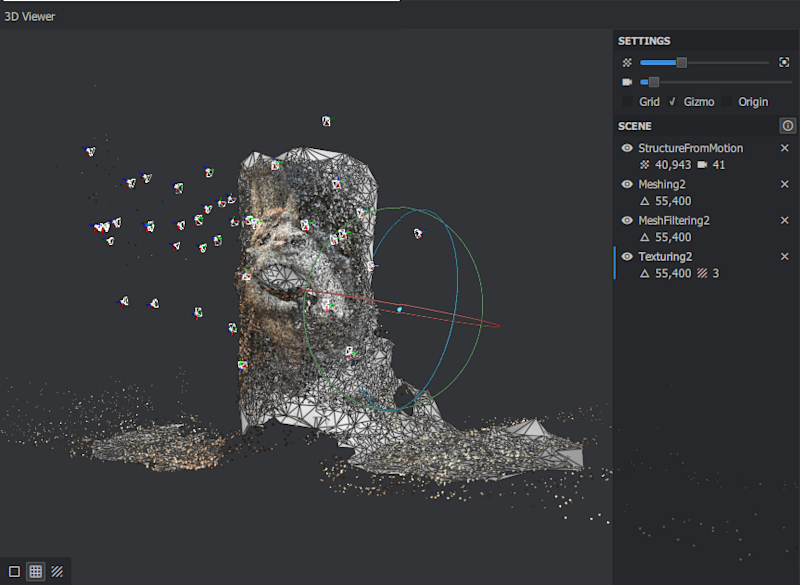
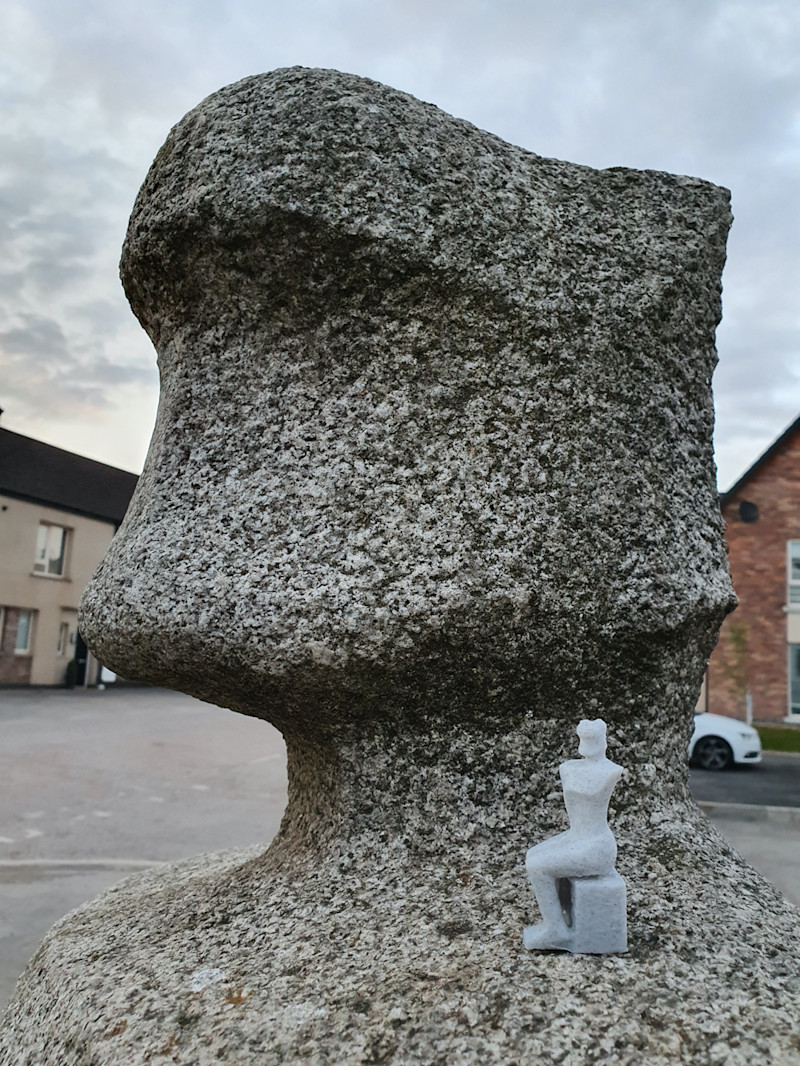
When everything has finished, you can double-click on certain nodes to see their results. Double-click on StructureFromMotion, Meshing2, MeshFiltering2, and finally Texturing2 to see them in the 3D viewer (Figure 3). If you have an Nvidia GPU, you can now proceed to testing the depth mapping stages. Right-click and select Compute on the Texturing node, and leave things to run for an hour or two. If everything has worked up until this point, then you’re ready to get started with your own photos – we used a piece of ominous modern art that was within range of this author’s daily exercise during lockdown (Figure 4).
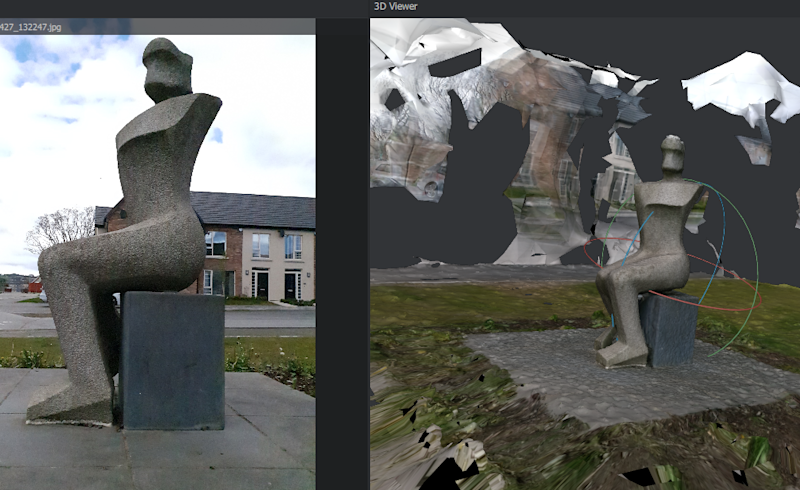
GIGO – garbage in, garbage out
Once you have all your photos uploaded to your computer, just follow the same process we used for our tree example. After the feature extraction step, you can quickly review the images on the left-hand side of your screen and check if there are any photos the software wasn’t able to use (they will have a red symbol in the top right of the thumbnail). You can also click on the three dots in the bottom right of the image viewer to check how many 'features' were picked out from any of your photos to help narrow down the types of images that work best. The Meshroom documentation suggests that if you have issues, you can increase the number of features and feature types that are extracted. However, we found that this massively increases the amount of time the workflow takes, and if you haven’t got a decent low-resolution mesh already, then it won’t help massively. If you have a complete scan at the end of the draft workflow and you have an Nvidia GPU, we highly recommend running the depth mapping steps. Check out the difference in resolution in Figure 5.
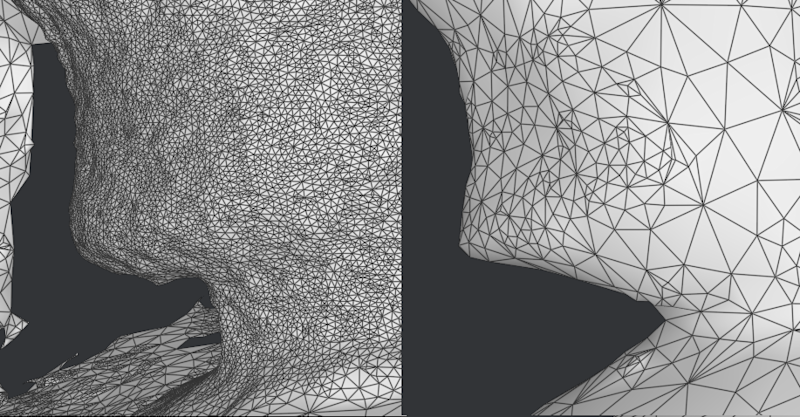
Sculpt fiction
So you’re looking at a great model in the Meshroom 3D viewer, now what? Before we can 3D-print our new model, we’ll need to clean it up using mesh editing/sculpting software. We’re going to use Autodesk Meshmixer (download it for free at meshmixer.com), but if you’ve used similar software before, feel free to use whatever you’re most comfortable with.
Open Meshmixer, click import, then navigate to the folder where you saved your Meshroom project. In the MeshroomCache folder, you’ll find folders for each of the nodes in our pipeline. You’ll find OBJ files in each of the steps that output a 3D model, but we’ll want to lift the model from the MeshFiltering folder. There may be multiple folders in here named with a long ID number – one for each time you’ve run the MeshFiltering step. In each of these folders, you’ll find an OBJ mesh file, which is what we want to import. You can also use the OBJ file from the Texturing folder, but we found the untextured model is easier to work with at this stage.
The model is going to import in a fairly random orientation, so the first thing we need to do is transform it into an upright position. Click on Edit in the Meshmixer toolbar on the left of the UI, followed by Transform to overlay the transform tool wheel over our 3D model. Adjust the position of the model using the green, blue, and red curved lines by clicking on them and dragging. Then use the red, blue, and green arrows to move the model up and down relative to the grid (Figure 6). When you’re happy with the positioning, click Accept at the bottom of the Transform menu.
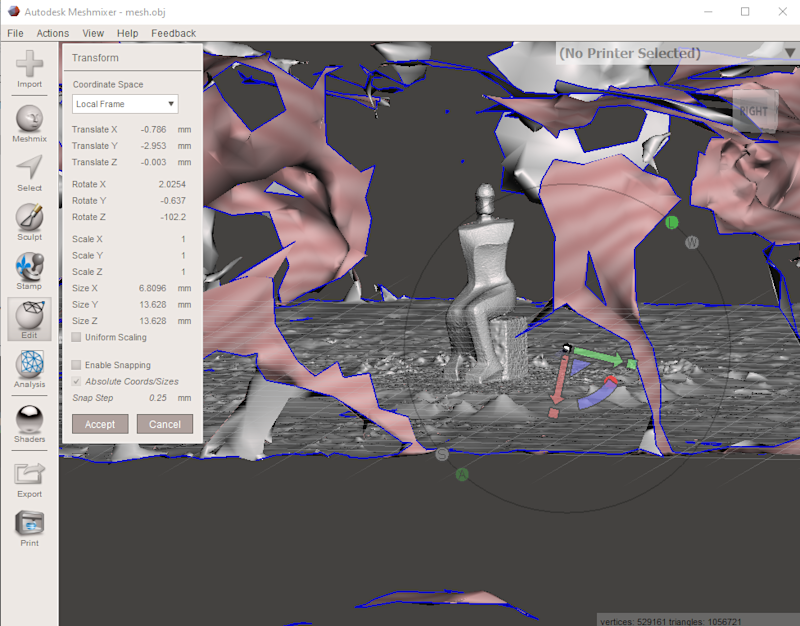
All about the base
Next, we’re going to cut around our statue to get rid of all the surrounding objects and give it a nice flat base. Click on Edit again followed by Plane Cut. You’ll notice a second grid has appeared in our viewing pane, along with a tool wheel similar to the one we saw in the Transform step. Use the tool wheel to move this new plane around to where we want to cut our model. You can move the plane so that it cuts along any axis if there are other sections you want to discard. When you’re happy with your selection, click on Accept in the Plane Cut menu. Repeat this with each plane around the model until you just have the area you’re interested in (Figure 7). You might notice some small fragments are floating around your model. We’re going to remove those by again clicking Edit, followed by Separate Shells. An object browser will appear with a list of all your fragments. Select the fragmented shells in turn and click on the bin icon in the bottom right of the object browser to be left with your model.
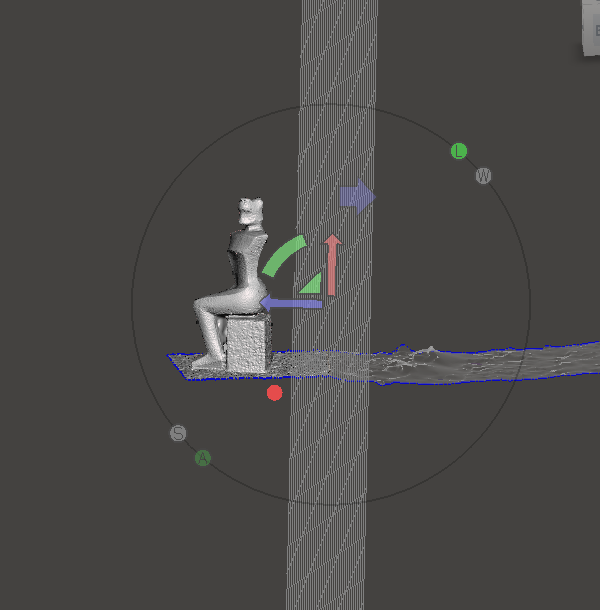
Next up, we’re going to plug any holes in your model that aren’t supposed to be there. First, zoom in on any of the holes you wish to fill in. Click on Select from the toolbar on the left, then adjust the brush size to one that you’re happy with and draw around the edges of the hole. The area should turn orange as you select it (Figure 8). When you’ve selected all around the hole, release the mouse button and press F on your keyboard to fill the area. If you wish to delete a selection, you can follow this same process and then press X. You can also make the model solid at this stage by clicking on it, followed by Edit, then Make Solid.
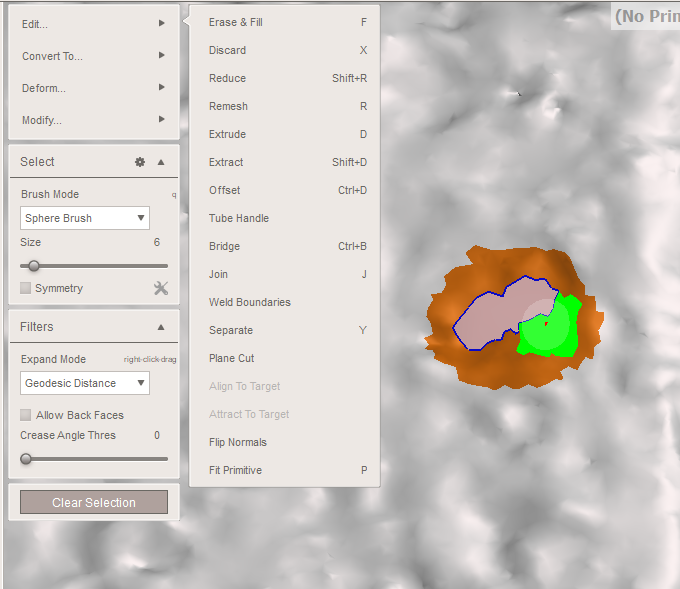
Optionally, you can smooth out any areas on the surface of your model by selecting Sculpt from the toolbar on the left, then clicking on Brushes, and selecting the RobustSmooth brush. At this stage, it’s important not to brush away any of the details of your model that we worked so hard to extract – use the strength slider to reduce/increase the smoothing effect.
Finally, click on File, then Export and save your model in STL format, and now you have your final model ready for 3D printing. If the model is tiny or huge when you bring it into your slicer, simply adjust the scale until you're happy with the size. Check out our finished printed model in Figure 9.
Photography 101
The choice of camera you use will, of course, affect the quality of your scan, but while a market-leading digital SLR is better, modern smartphones are capable of producing images that are more than good enough quality for photogrammetry. As a general rule, try to keep everything in focus (the bokeh effect looks great on social media, but not so much for photogrammetry) and make sure nothing in your model is overexposed, or those areas will certainly end up as gaps in your final model. Contrary to other 3D scanning techniques, photogrammetry works best with a feature-filled background, as this allows the software to pick up frames of reference when trying to find out where different features exist in 3D space. Don’t have too many moving subjects in the background, though the odd car moving by shouldn’t be too detrimental.
Lighting, as with any photography, is very important – if taking photos of a subject outdoors, then cloudy days work best as there won’t be any solid shadows to throw off the software. Walk in circles taking plenty of overlapping photos (more is better here, anything from 30 to 300+, depending on the target) and try to get different heights, angles, and distances from the subject.

